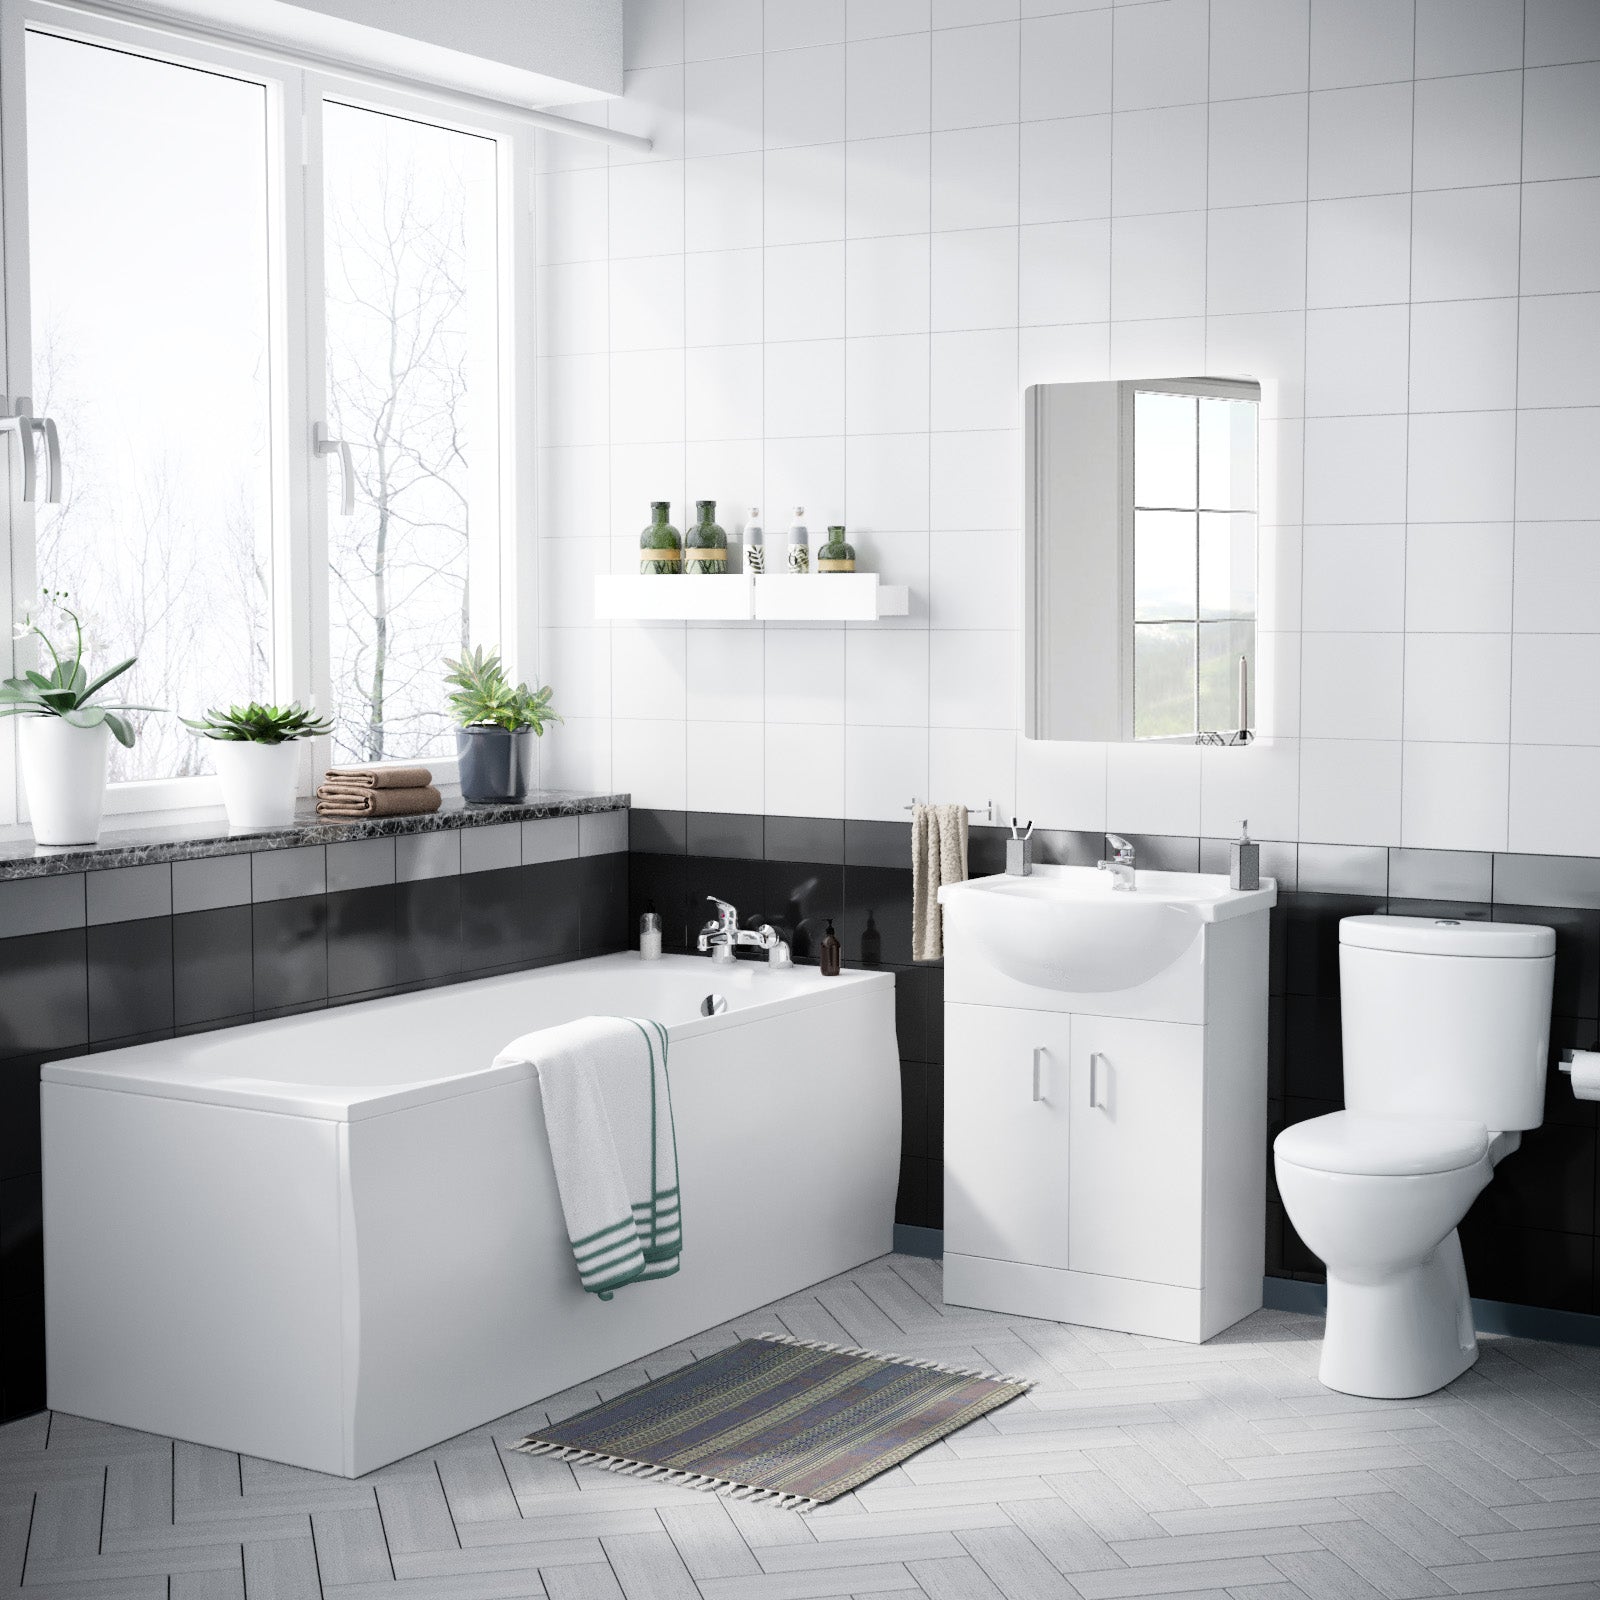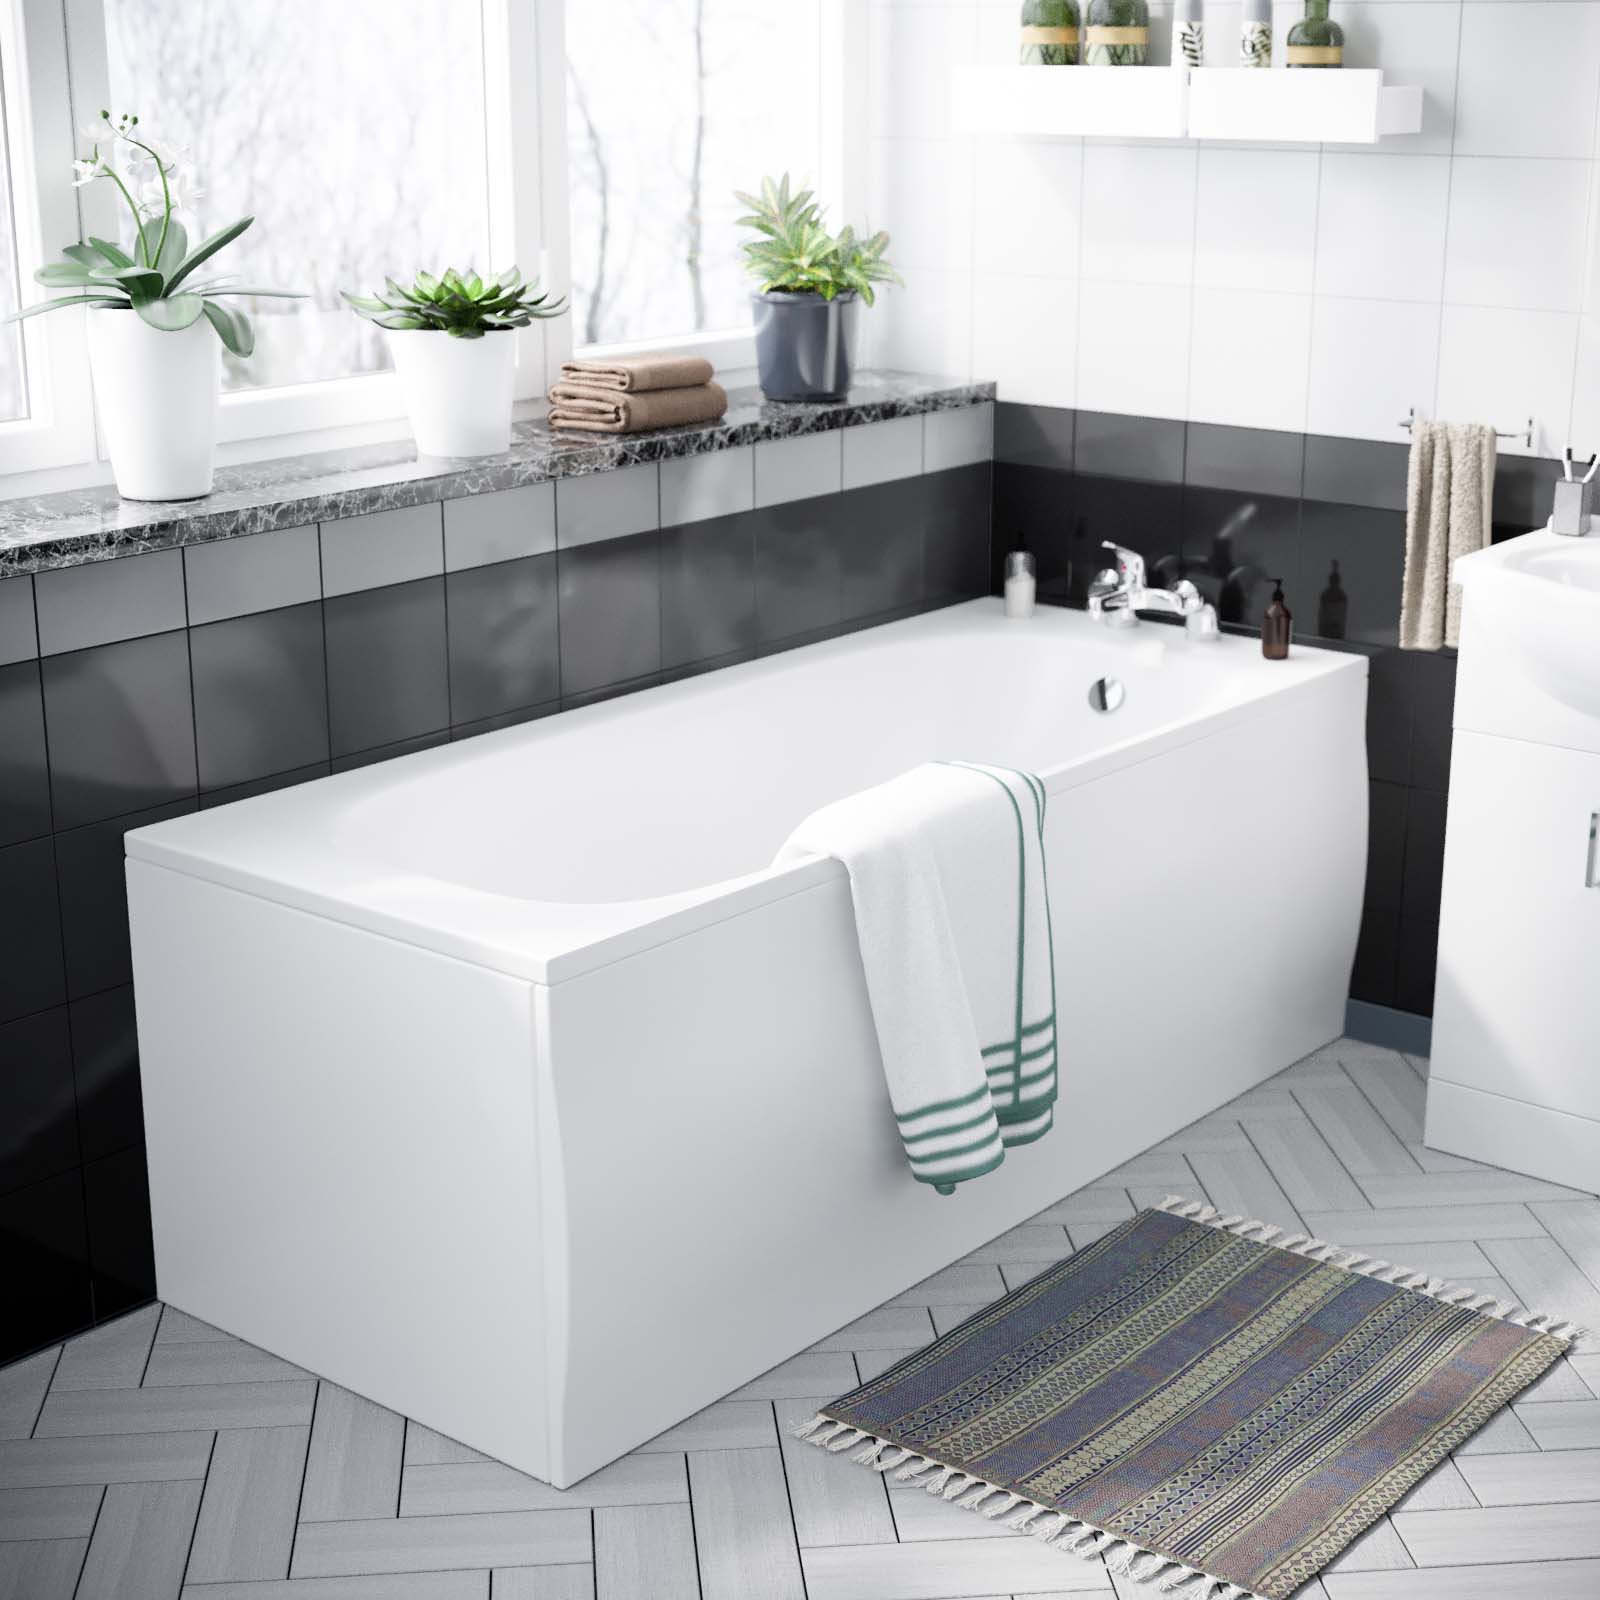

Replacing your bath panel is one of the quickest and most affordable ways to refresh your bathroom. An acrylic bath panel hides the bath frame and pipework underneath, giving your bathroom a clean, modern finish while still allowing access for future maintenance.
The best part? Installing an acrylic bath panel is a simple DIY project that requires no plumbing or tiling. With a few basic tools and careful measuring, most homeowners can complete the job in an afternoon.
What Is an Acrylic Bath Panel?
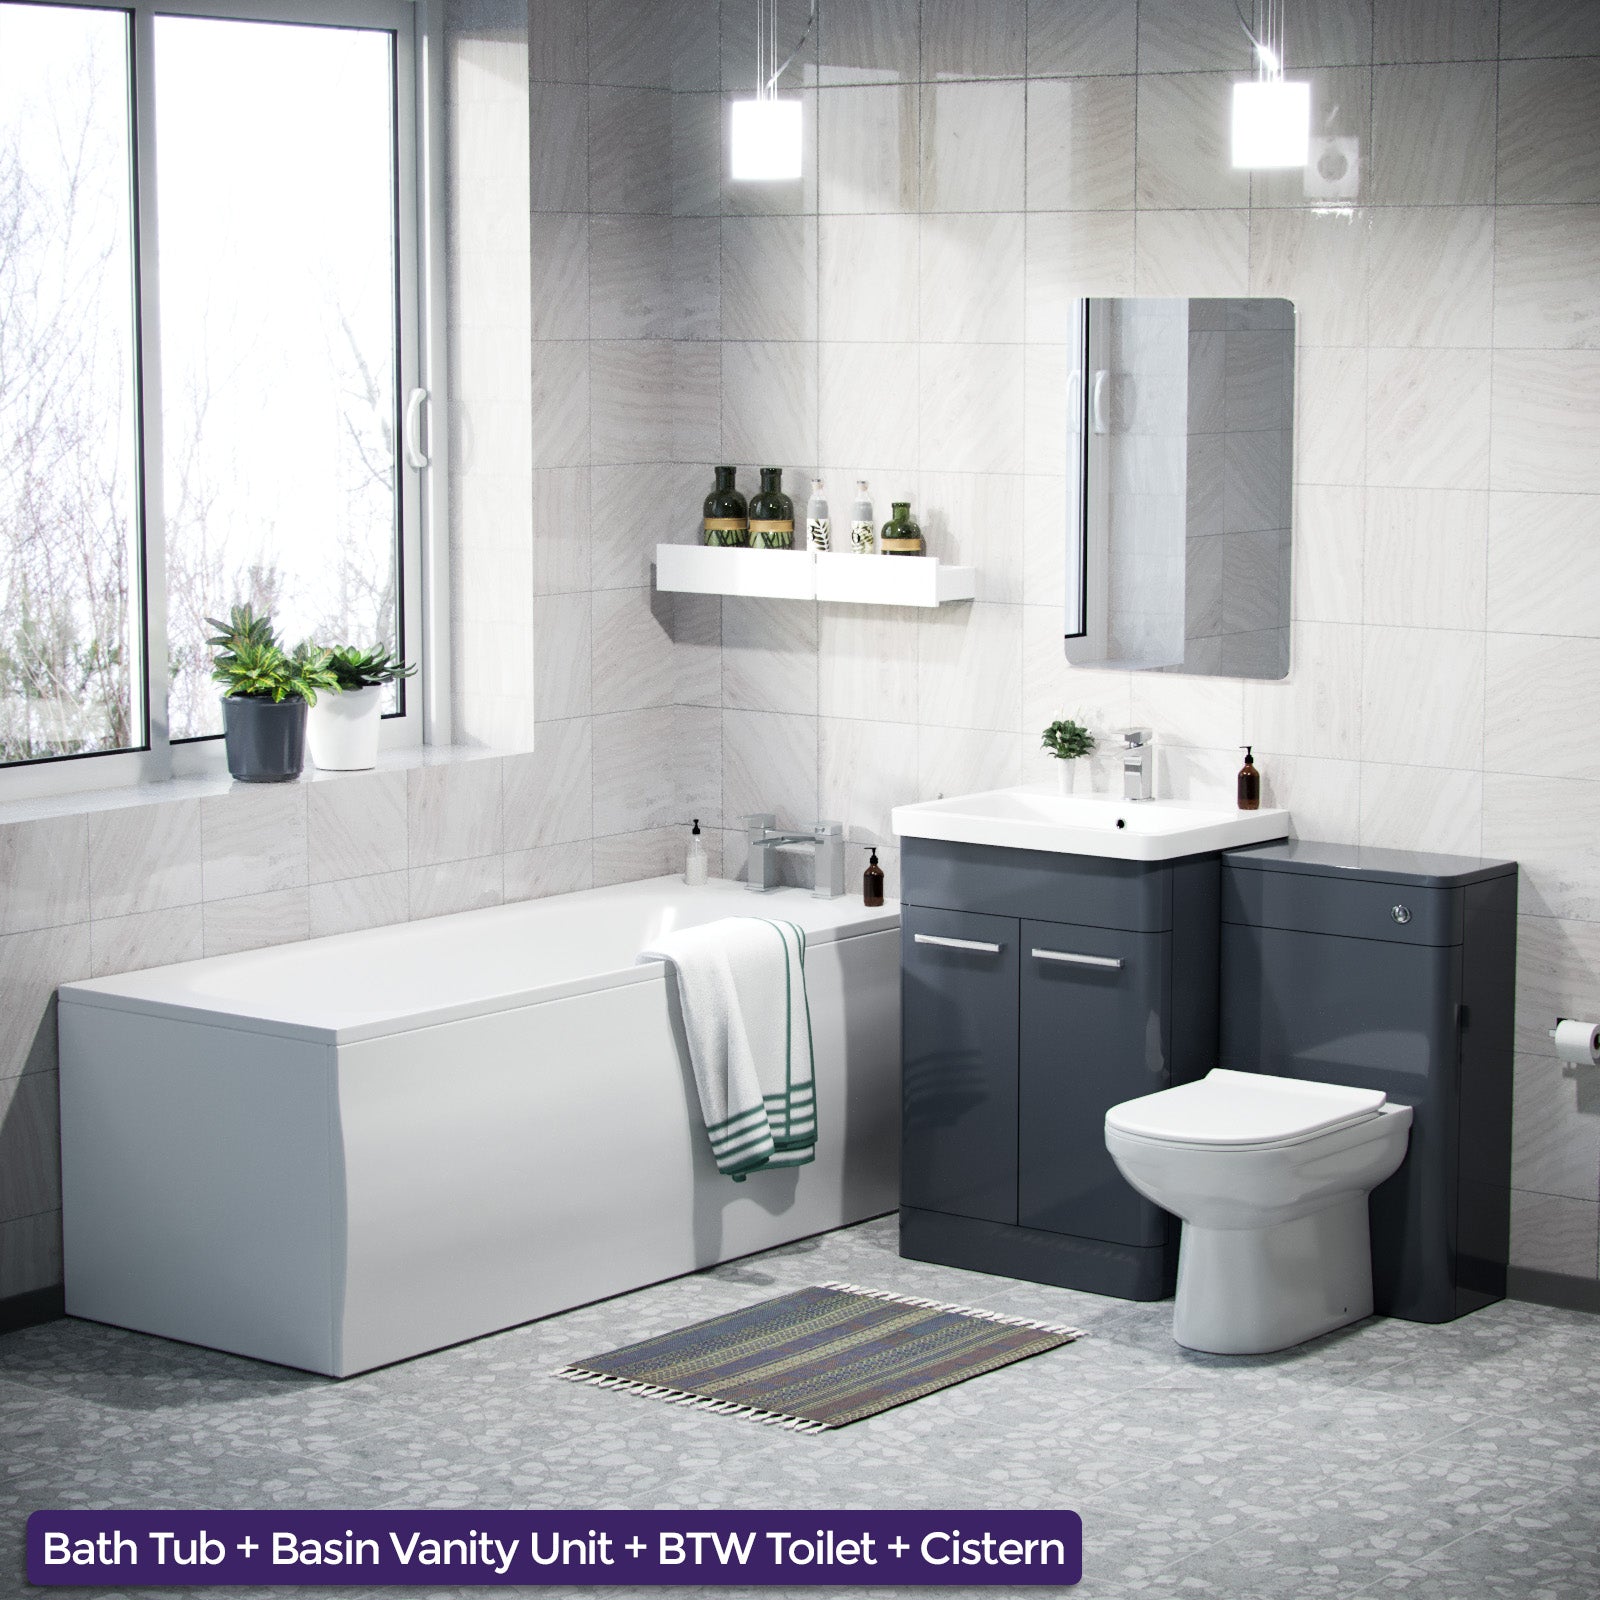
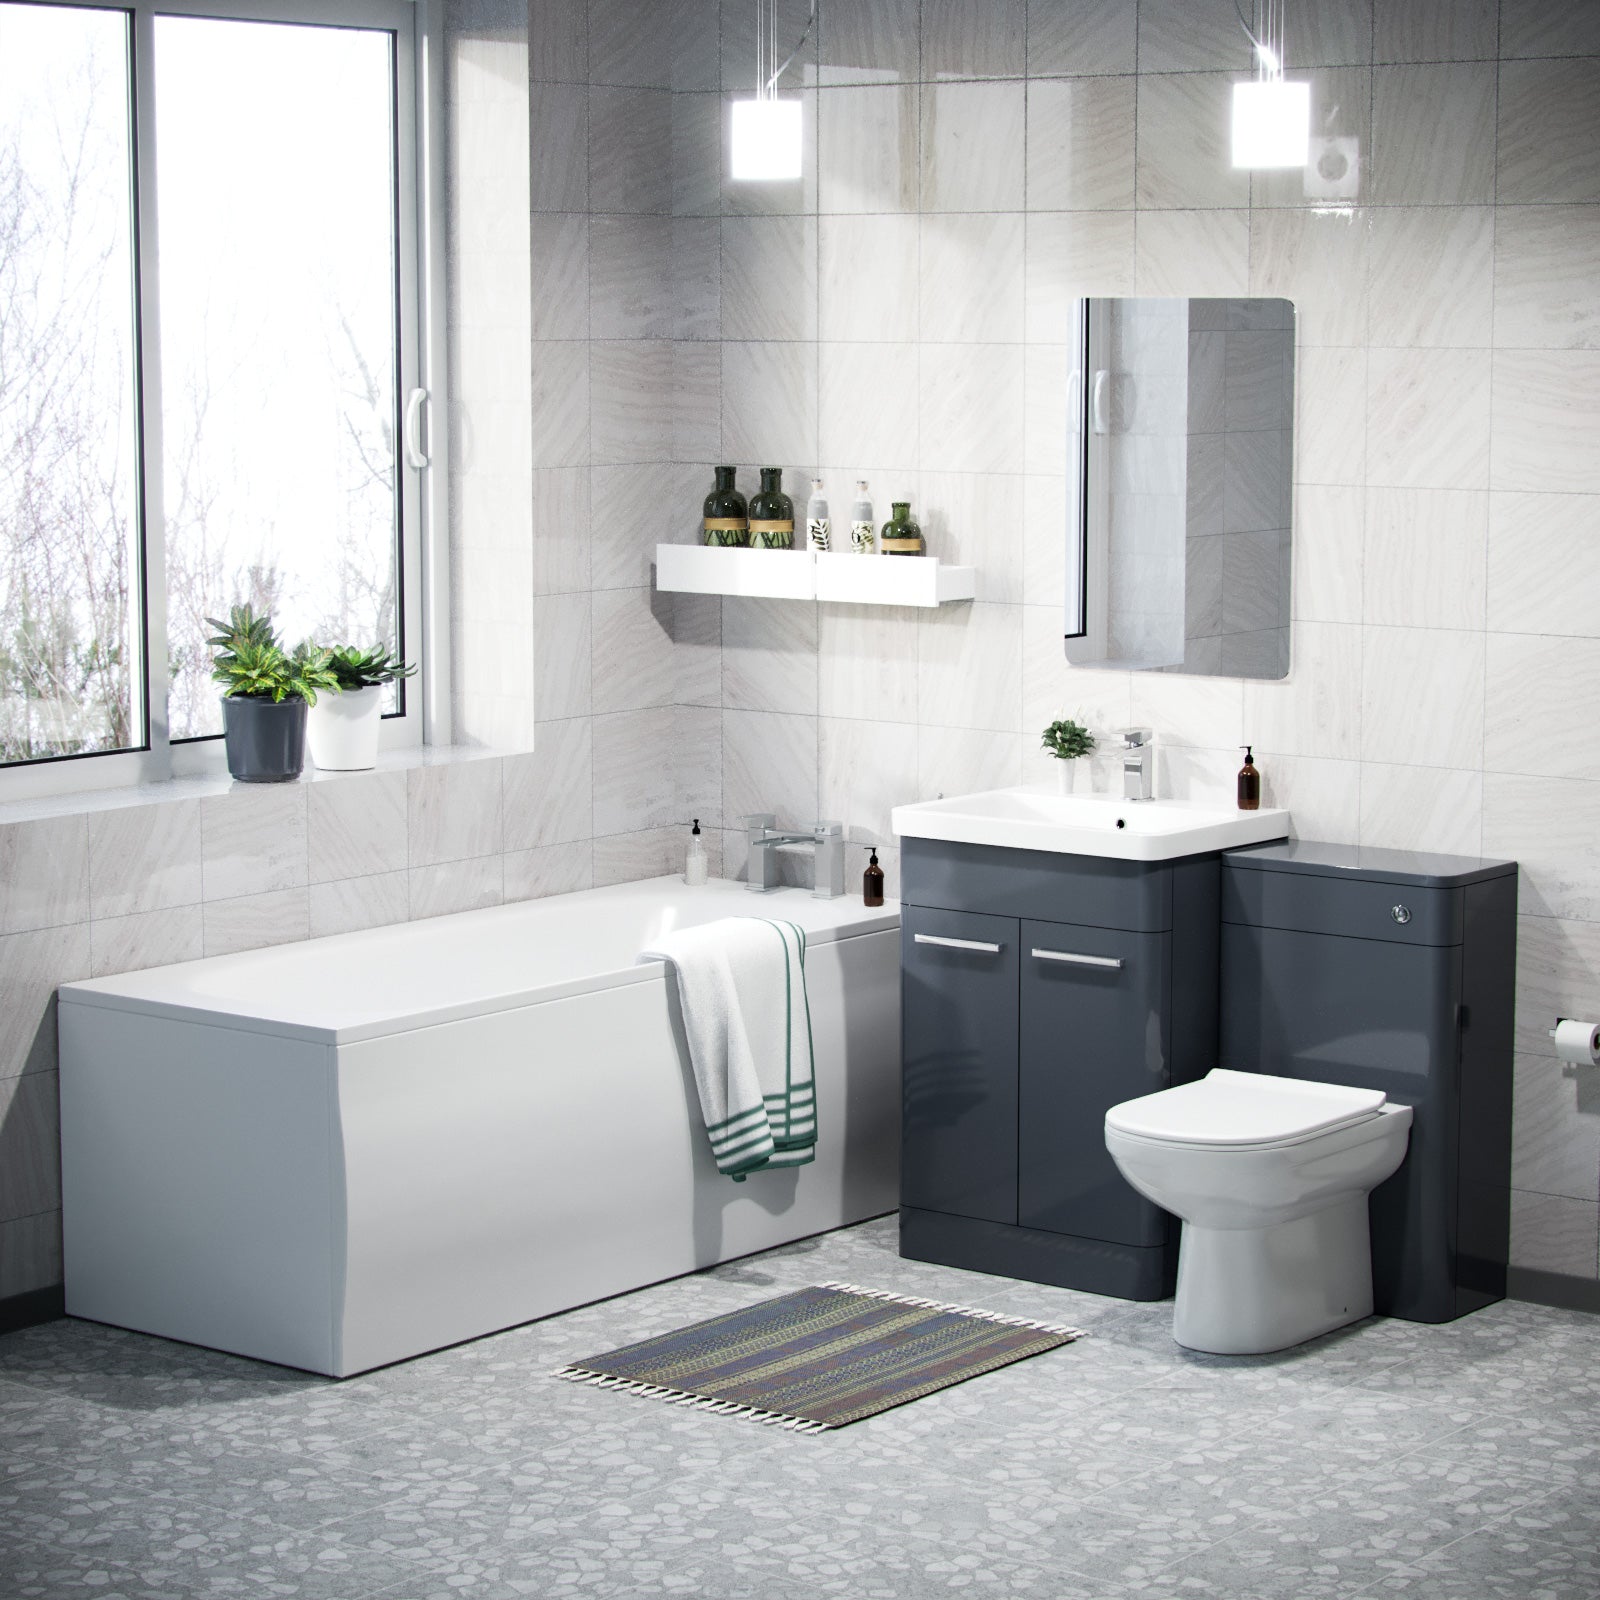
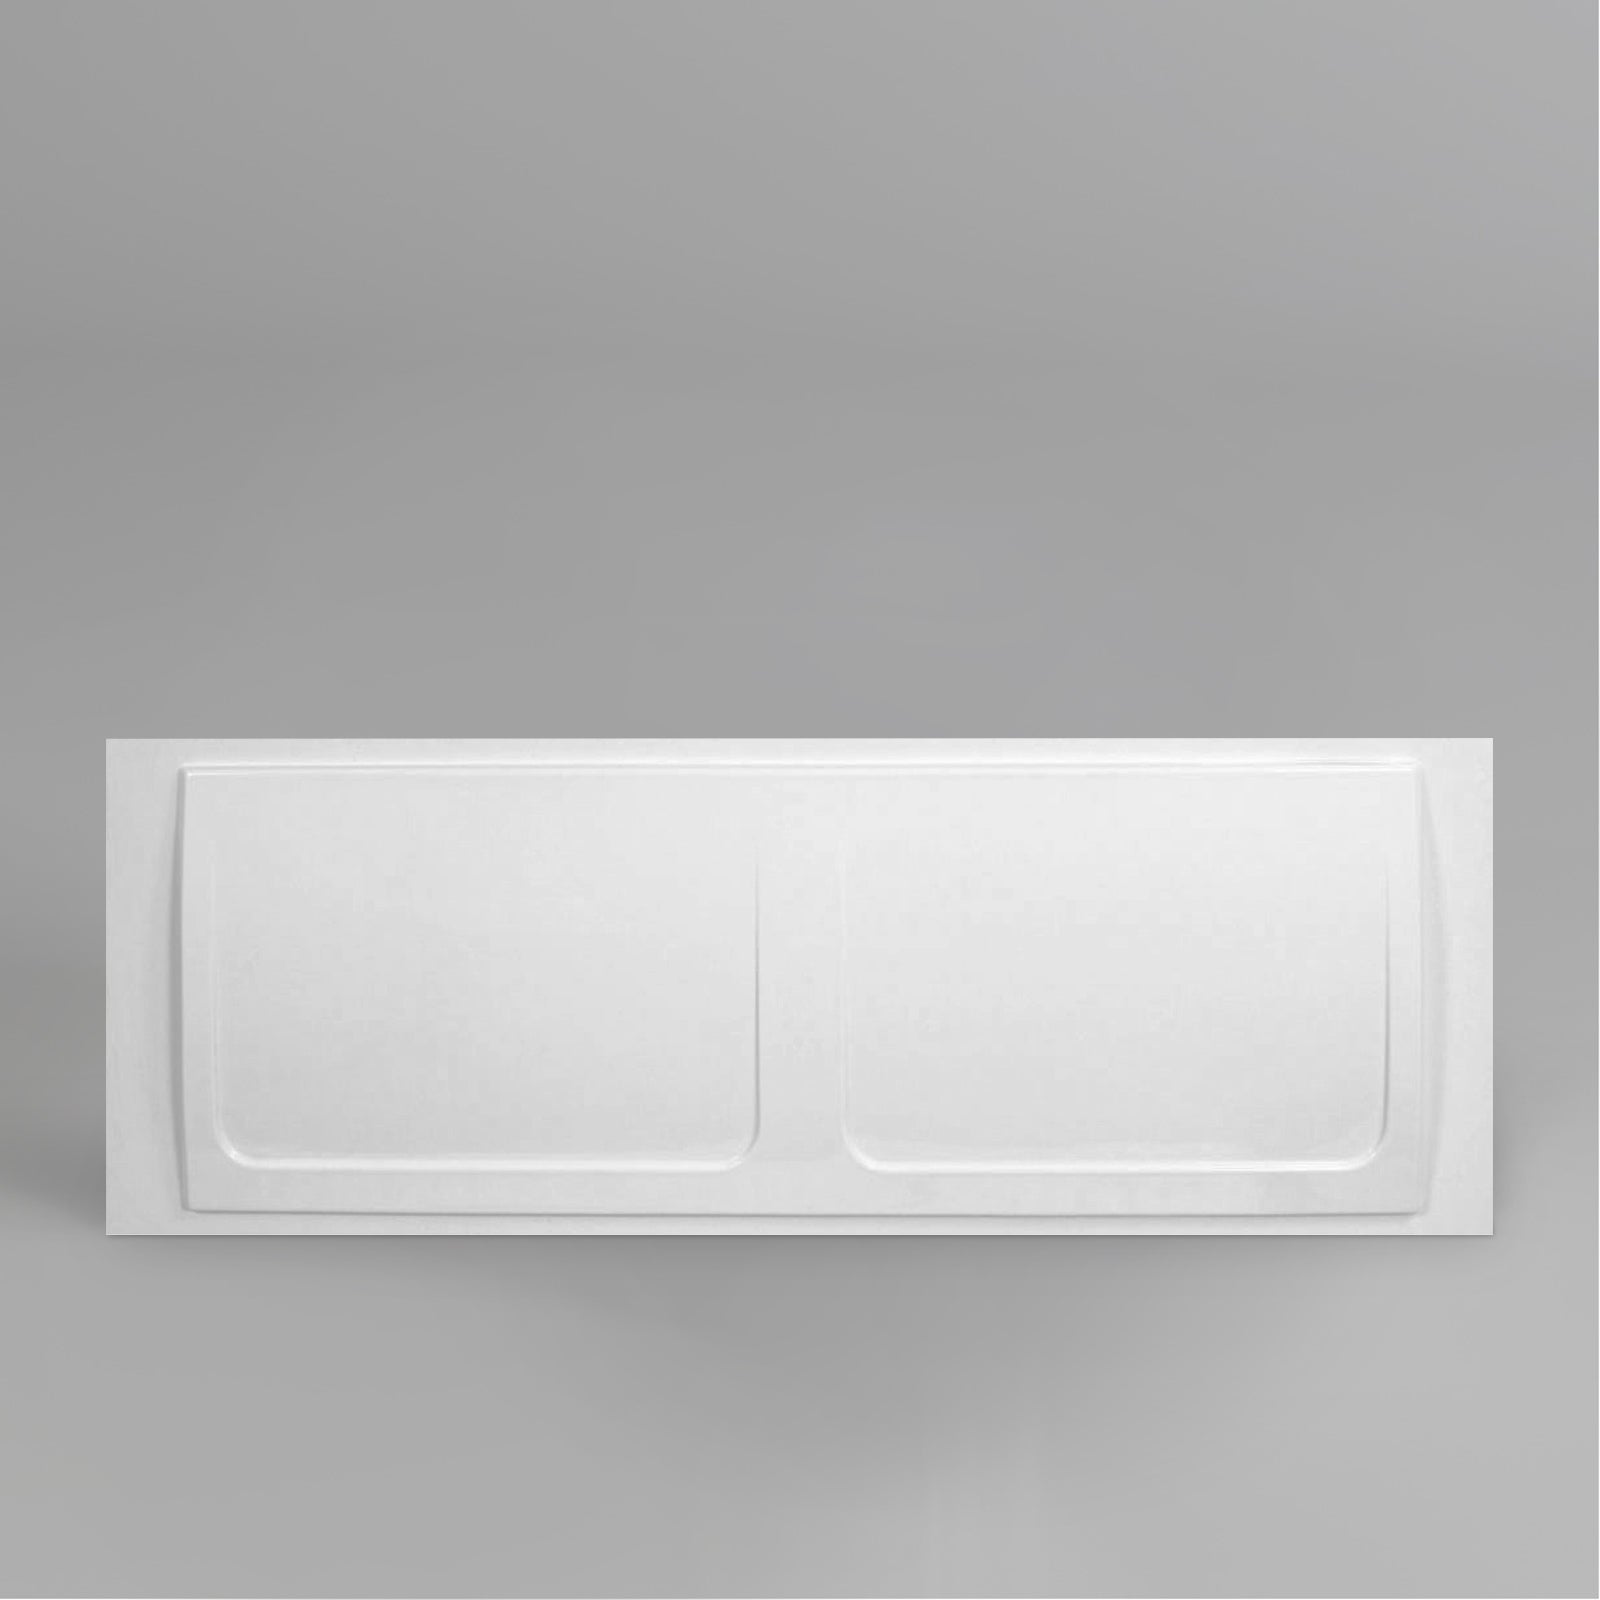
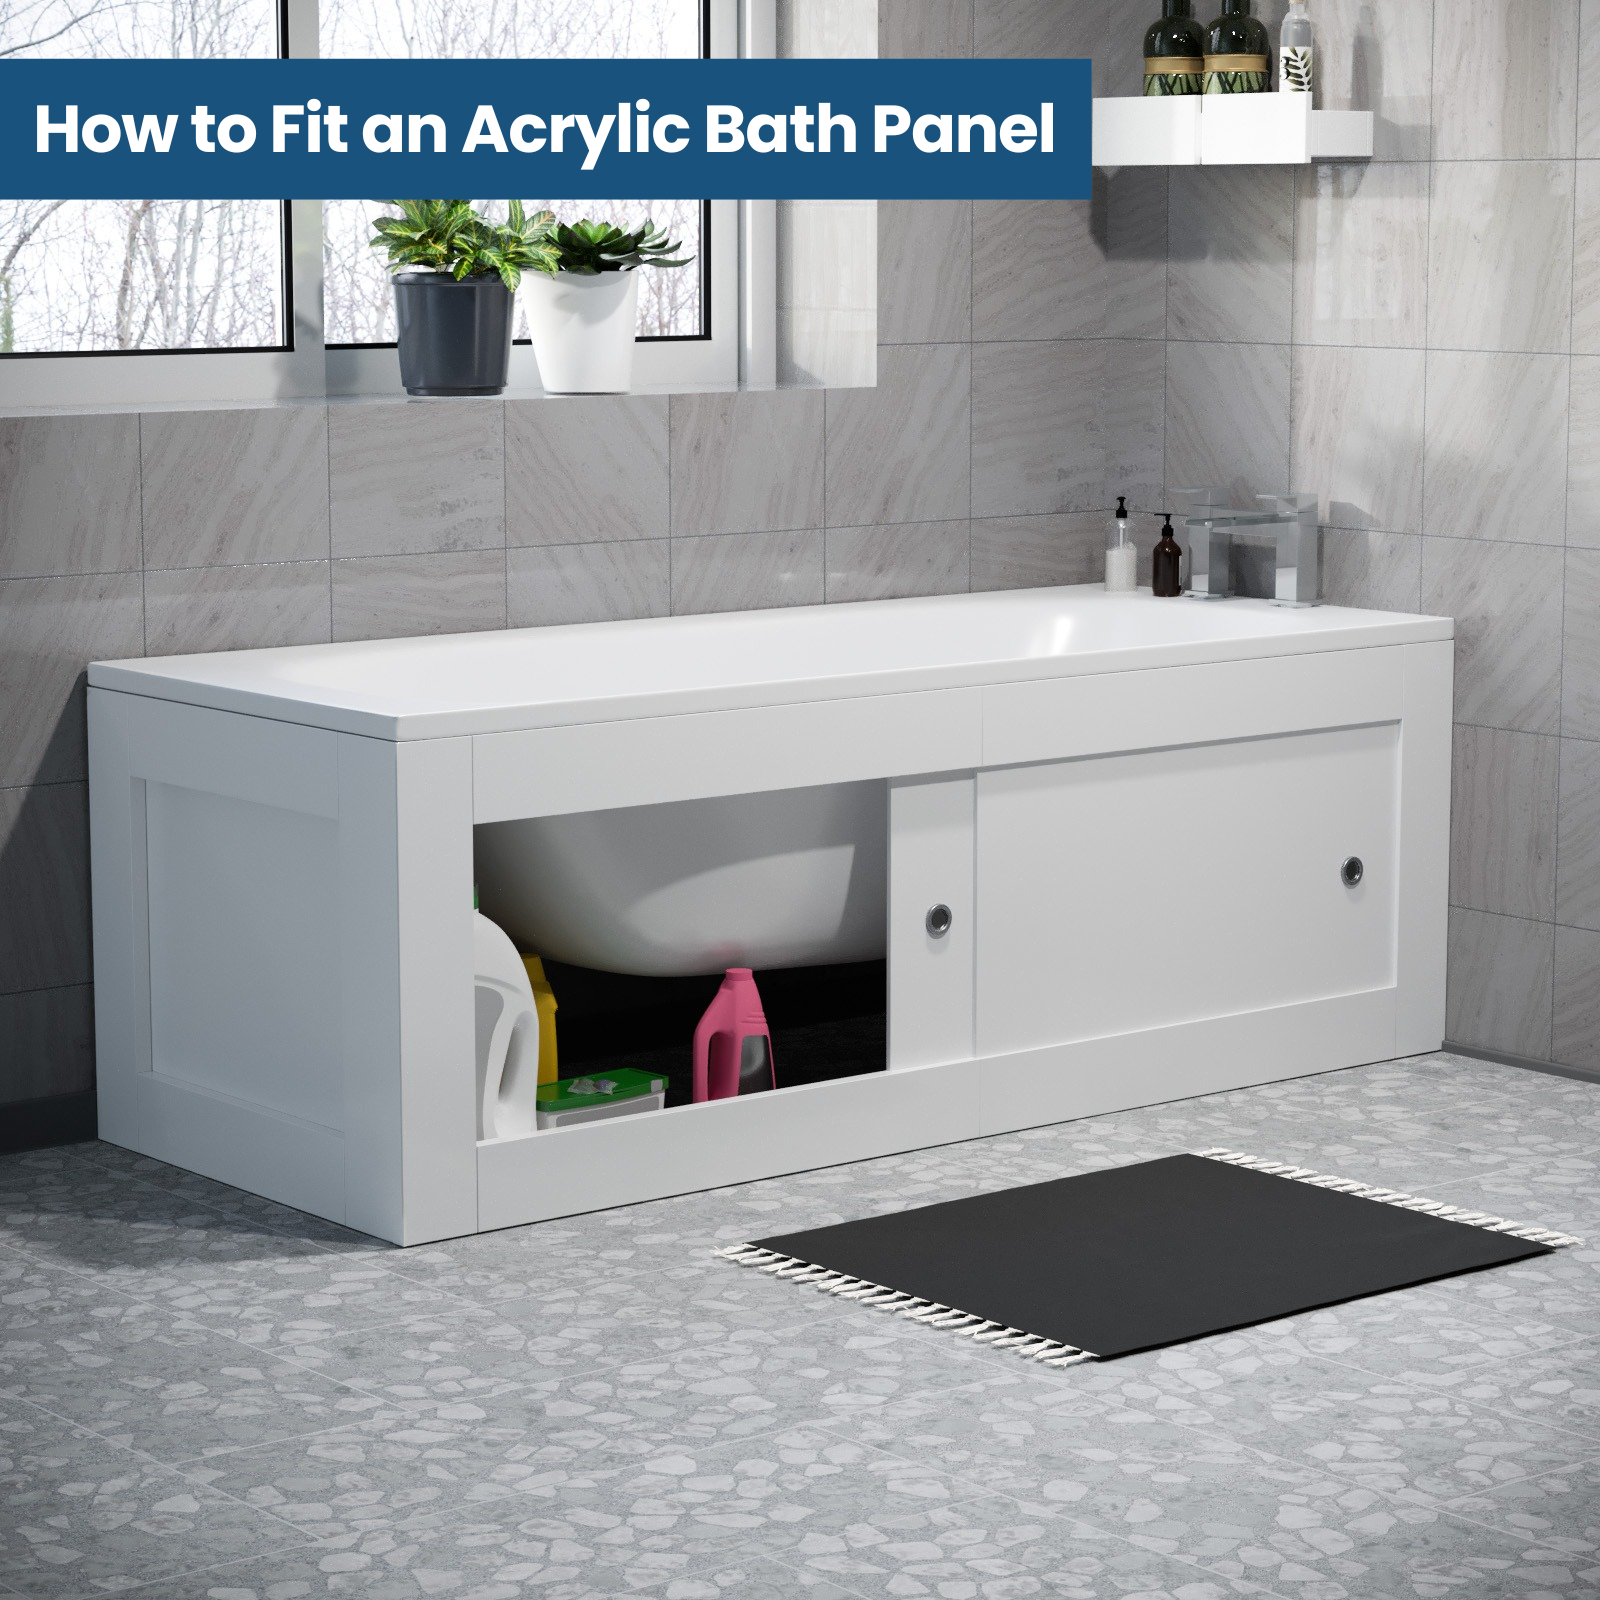
An acrylic bath panel is a durable, lightweight panel that covers the exposed side of a bathtub. It creates a neat appearance while concealing plumbing, pipework and the bath frame.
Benefits of acrylic bath panels include:
- Lightweight and easy to install
- Water-resistant and easy to clean
- Durable for everyday use
- Available in various sizes and styles
- Provides a professional-looking finish
Types of Bath Panels
Before purchasing a replacement panel, it's important to choose the correct type for your bath.
1. Standard Bath Panels
Standard bath panels are designed for straight baths installed against a wall or in a corner. They normally cover the long side of the bath, with an optional matching end panel if required.
Best for:
- Straight baths
- Alcove installations
- Corner bathrooms
2. Curved Bath Panels
Curved bath panels are specifically manufactured to fit baths with rounded fronts, including P-shaped and L-shaped baths. Their curved profile creates a seamless finish that matches the shape of the bath.
Best for:
- P-shaped baths
- L-shaped baths
- Rounded corner baths
3. Full Bath Panels
If your bath is installed away from the wall but isn't a freestanding bath, you'll need full bath panels. These cover every exposed side, creating a neat, enclosed appearance from all angles.
Best for:
- Island bath installations
- Centre-room baths
- Multiple exposed sides
Tools You'll Need
- Tape measure
- Spirit level
- Pencil
- Drill
- Screws and suitable fixings
- Rebated timber batten
- Saw (only if trimming is required)
Understanding Bath Panel Overlap
If you're fitting a two-part acrylic bath panel with a separate plinth, the amount of overlap between the two pieces is important. A proper overlap provides enough fixing area while allowing you to adjust the panel height to suit uneven floors.
Recommended Overlap
- 10mm Overlap – Generally not recommended. It provides very little fixing area, making the joint weaker and increasing the risk of splitting the panel when screws are installed.
- 20–30mm Overlap – This is the recommended industry standard. It provides a stronger fixing, allows for height adjustment, and creates a more secure, long-lasting installation.
How to Set the Correct Overlap
- Measure the distance from the underside of the bath rim to the finished floor.
- Lay the main panel and plinth face down on a flat surface, overlapping the two pieces until the combined height matches your measurement.
- Once satisfied, secure the plinth to the rear of the main panel using at least three wood screws. For extra strength, you can also apply a suitable wood adhesive.
- Take care that the screws do not penetrate through the visible front face of the bath panel.
How to Fit an Acrylic Bath Panel
Step 1: Measure and Test Fit
Position the panel against the bath to check the fit. If necessary, trim the panel to accommodate skirting boards, pipework or uneven flooring. Use a spirit level to ensure the panel sits perfectly level.
Step 2: Prepare the Timber Batten
Cut a length of rebated timber to match the width of the bath. The rebate provides a secure location for the bottom edge of the panel.
Step 3: Mark the Floor
Using a spirit level, mark where the timber batten will sit on the floor. Accurate positioning will ensure the bath panel fits neatly once installed.
Step 4: Secure the Timber
Fix the timber batten to the floor using appropriate screws.
Important: Always check for hidden pipes, cables or underfloor heating before drilling.
Step 5: Install the Bath Panel
Hook the top edge of the panel underneath the bath rim before pushing the bottom edge into the rebate on the timber batten.
Check that the panel sits level and fits snugly against the bath.
Step 6: Fit an End Panel (If Required)
If the end of the bath is visible, repeat the same installation process with a matching end panel to create a complete, professional finish.
Top Installation Tips
- Measure twice before cutting.
- Use a spirit level throughout installation.
- Don't overtighten screws.
- Keep future plumbing access in mind.
- Clean your acrylic panel regularly with warm soapy water.
Frequently Asked Questions
Can acrylic bath panels be cut?
Yes. Most acrylic bath panels can be trimmed to fit around skirting boards, pipework or uneven floors. Always measure carefully before cutting.
How long does installation take?
For most DIY projects, fitting a bath panel takes between one and two hours.
Do I need to remove the bath?
No. Bath panels are designed to be removed and replaced without taking out the bath itself.
Are acrylic bath panels waterproof?
Yes. Acrylic is naturally water-resistant and is ideal for use in bathrooms.
Final Thoughts
Replacing an acrylic bath panel is a simple way to give your bathroom a cleaner, more modern appearance without the expense of replacing the entire bath. By selecting the correct panel type and following these straightforward installation steps, you can achieve a professional-looking finish in just a few hours.
If you're unsure about trimming the panel or working around existing pipework, we recommend contacting a qualified bathroom installer.
Shop Acrylic Bath Panels
Complete your bathroom with our range of high-quality acrylic bath panels, available in a variety of sizes and styles to suit your bath.


Written by Sue K.
Sue K. is a bathroom design enthusiast and product specialist who enjoys writing Bathroom Inspiration blogs and sharing helpful advice on how to choose and care for the right bathroom products.